
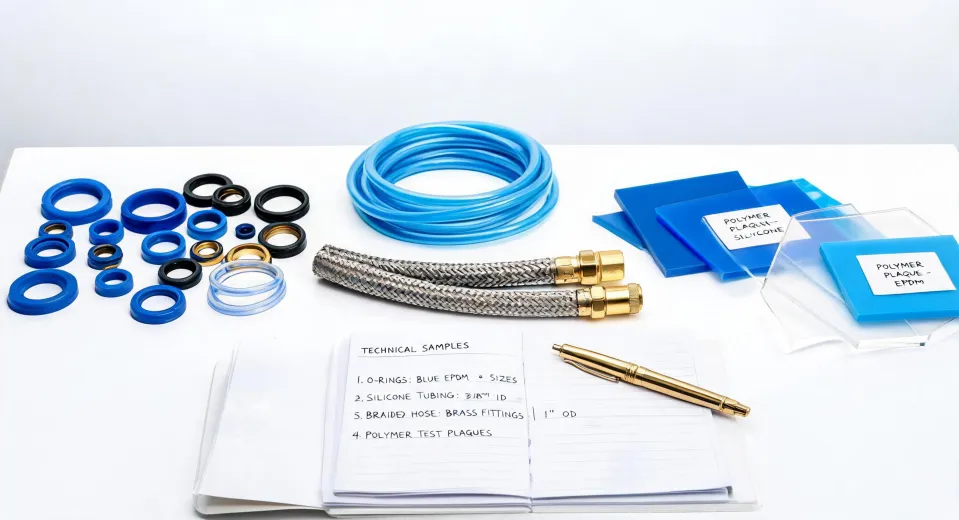
If you've ever had a $3,000 order come back wrong because one o-ring was half a millimeter off, you know the feeling. I've been there. I'm the person who signs off on procurement, so I look at o-ring sizing differently than an engineer: wrong size means reorder, rush shipping, downtime, and a blown budget.
This checklist is for maintenance leads, reliability engineers, and buyers who need to replace o-rings fast—without the expensive 'oops' loop. It works for Trelleborg rubber products and for almost any other brand. There are six steps. You can finish in about 15 minutes.
Maybe you arrived here with a search like 'how to measure o-ring size.' Or maybe something more specific, like 'pp pool trelleborg'—a polypropylene pool system with Trelleborg seals. Same method either way.
Why Size Accuracy Is a Budget Issue
An o-ring is often the cheapest part in the system. But when it's wrong, it becomes the most expensive. Back in March 2023, a maintenance lead handed me a worn o-ring from a mixing skid. I ordered what looked like the same size. It didn't fit. We lost two days, paid for expedited shipping, and the total overrun was about $1,400—for a part that cost $0.80.
That's what I mean by total cost. Unit price is only the beginning. The right measurement process is basically free.
The 6-Step O-Ring Measurement Checklist
Step 1: Identify the dimensions you need
An o-ring has three basic dimensions: inside diameter (ID), outside diameter (OD), and cross-section (CS). For a standard o-ring, OD = ID + 2 × CS. So you really need to measure ID and CS, and then calculate OD. Why does this matter? Because trying to measure OD with a caliper on a soft ring can give you a random number.
Checkpoint: Write down ID and CS before you pick up a tool.
Step 2: Use the right tool
A digital caliper is fine for many o-rings. For soft rubber, use a cone gauge for ID and a micrometer for CS, because calipers can squish the rubber. You don't need a lab setup. A $30 caliper is enough for a lot of replacement work, but if the part is old and soft, the cone gauge is worth the $40.
Checkpoint: Make sure the o-ring is sitting flat. No stretching.
Step 3: Measure the old o-ring, but know when to measure the groove instead
This is the step most people miss. If the old o-ring is worn, cracked, or flattened on one side, its dimensions are not your answer. Measure the groove: the groove diameter and groove width tell you the maximum o-ring size that can seal properly.
Looking back, I should have measured the groove when we had the mixing skid problem. At the time, I thought the old o-ring would tell me everything. It didn't.
Checkpoint: If the old seal is damaged or deformed, use the gland dimensions.
Step 4: Measure in several places
O-rings are not perfectly round forever. Take ID readings at least three times, about 120 degrees apart. Same for CS. The cross-section can wear oval after years of compression, so use the average reading. Honestly, I'm not sure why some people measure only one spot. My best guess is they're in a hurry. That's how you get errors you can't see until the part is in front of you.
Checkpoint: Each dimension has three readings. Are you in the middle of the range?
Step 5: Compare with standard sizes before going custom
Inch-series o-rings are standardized under SAE AS568A. Metric sizes follow ISO 3601-1. If your measured size falls between standard sizes, that's a red flag—not a rounding decision.
If your measurement sits between standard sizes, don't assume the nearest one will work. Talk to the supplier. Custom o-rings mean tooling charges, minimum order quantities, and lead times. That's how a $1 part becomes a $1,000 project.
Checkpoint: Check the standard size chart. If you're between sizes, make the phone call.
Step 6: Verify before you buy
Send the ID, CS, and application details to Trelleborg or whichever supplier you use. For a static seal under low pressure, my method is probably enough. For dynamic seals, high pressure, or aggressive chemicals, get a real engineer involved. The free technical call is cheaper than the second order.
Even after I confirmed the replacement o-ring size for the mixing skid, I kept second-guessing. What if my CS was off by a few tenths? The two days until delivery were stressful. Verification would have removed that.
Checkpoint: The supplier confirms the size. If they hesitate, ask why.
Applications: Plastic Boats, Polyethylene Products, and PP Pool Trelleborg
The same steps apply across the products I buy. A polyethylene product like a chemical storage tank may have six o-rings in the lid and outlet fittings alone. Each one needs a measurement, not a guess.
On a plastic boat, the drain plug and hatch seals are lower-stakes than a hydraulic cylinder—until a fitting leaks and ruins your checklist before launch. The o-ring in a PP pool trelleborg pump housing is no different: if you measure it correctly once, you won't have to open it again next quarter.
Common Mistakes That Cost Money
- Stretching the o-ring while measuring. A stretched ID can look 5-10% bigger than real.
- Trusting the printed size on the bag. Bags get mixed up, ink fades, and old parts are not always what the label says.
- Ignoring material. Size is not the whole story. A Trelleborg rubber product can be EPDM, NBR, silicone, HNBR, or PTFE. The right size in the wrong material will fail early.
- Ordering a custom size first. Standard sizes are cheaper and faster. Custom is for when the standard doesn't exist, not when you forgot to measure.
When This Approach Doesn't Work
This checklist handles perhaps 80% of replacement o-ring situations. If you're dealing with a rotating shaft seal, an extreme temperature application, or a compound that swells in contact with the fluid, stop measuring and start consulting. The point of saving money isn't to skip expertise—it's to avoid spending twice.
If your situation is standard, though, take the 15 minutes and do it slowly. The people who measure once, buy once, and move on are the ones who stay on budget.